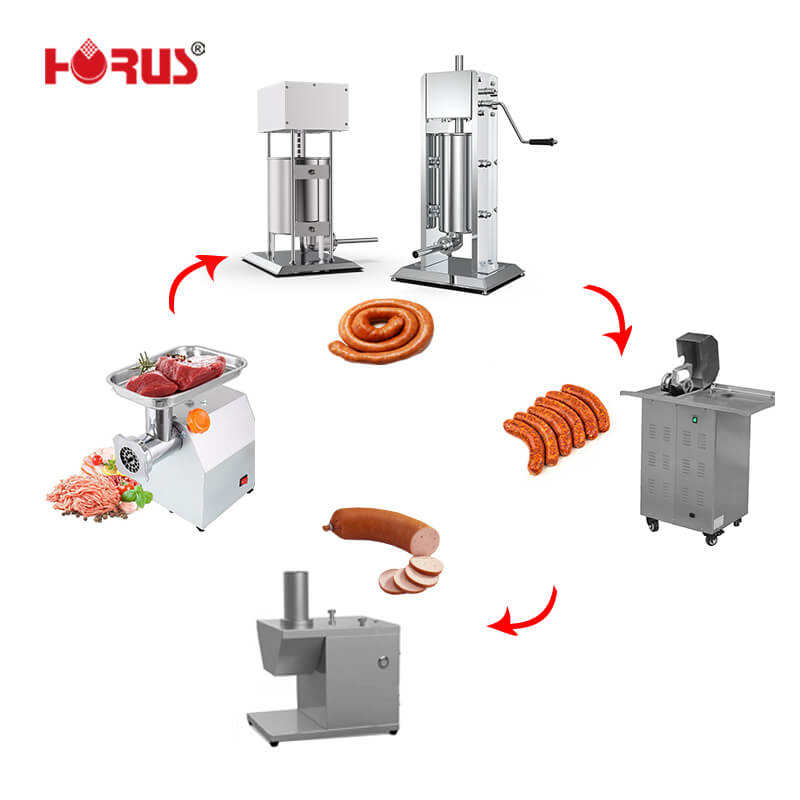
Introduction: Why a Sausage Stuffer is a Game-Changer for Meat Lovers
For homemade charcuterie enthusiasts, butcher shops, and commercial food processors, a sausage stuffer is the secret to perfectly plump, evenly textured sausages. Unlike manual grinding, a dedicated stuffer ensures consistent pressure, reduces air pockets, and handles everything from delicate snack sticks to bulk summer sausage. But with manual, electric, and vertical/horizontal designs on the market, how do you pick the right one? Let’s explore everything from types and features to maintenance, packed with actionable tips for beginners and pros alike.
1. Types of Sausage Stuffers: Which One Fits Your Needs?
A. Manual vs. Electric Sausage Stuffers
Type Best For Pros Cons
Manual Home cooks, small batches Affordable, portable, no electricity needed Labor-intensive for large quantities
Electric Commercial kitchens, high-volume use Fast, consistent pressure, adjustable speed Higher cost, requires power source
B. Vertical vs. Horizontal Designs
Vertical Stuffers: Space-saving, ideal for small batches (e.g., 3–7 lbs. capacity).
Horizontal Stuffers: Better for industrial use, handle 15+ lbs. of meat at once.

2. Key Features to Look For in a Sausage Stuffer
A. Material & Durability
Stainless Steel: Rust-resistant, easy to clean (prioritize for commercial use).
Plastic Gear Models: Lightweight but prone to wear—best for occasional home use.
B. Capacity & Speed
Home Use: 3–7 lbs. capacity (e.g., LEM Products 5-Pound Stuffer).
Commercial Use: 15–30+ lbs. capacity with variable speed controls.
C. Nozzle Attachments
Include 4–6 stainless steel tubes (1/2", 3/4", 1" diameters) for snack sticks, breakfast sausages, and large links.
D. Safety Features
Look for non-slip bases, emergency stop buttons (electric models), and food-grade materials.
3. How to Use a Sausage Stuffer Like a Pro
Step 1: Prep Your Meat
Chill ground meat to 32–34°F (0–1°C) to prevent smearing.
Mix with seasonings (e.g., fennel, paprika) and refrigerate for 1–2 hours.
Step 2: Assemble the Stuffer
Attach the correct nozzle size (smaller for snack sticks, larger for bratwurst).
Lubricate the piston with food-safe oil.
Step 3: Stuffing Technique
Fill the cylinder in 2–3 inch increments to avoid air pockets.
Use a slow, steady pressure (manual) or set electric models to 40–60% speed.
Step 4: Twisting & Linking
For uniform links, twist in 4–6 inch intervals.
Use a sausage pricker to remove air bubbles.
4. Maintenance Tips to Extend Lifespan
Daily Cleaning: Disassemble and hand-wash with warm soapy water (avoid abrasive sponges).
Deep Clean: Soak metal parts in a vinegar solution (1:4 ratio) monthly to remove fat buildup.
Storage: Dry thoroughly and store in a dust-free area.
5. FAQs: Answers to Common Sausage Stuffer Questions
Q: Can I stuff cheese or vegetables in a meat stuffer?
A: Yes, but use a dedicated nozzle and avoid acidic ingredients (e.g., tomatoes) that corrode metal.
Q: How to prevent casing breakage?
A: Soak casings in warm water for 30 minutes before stuffing and avoid overfilling.
Q: Manual vs. Electric—which is cheaper long-term?
A: Manual models cost 50–200 upfront, while electric models run 500–2,000+ but save labor costs for businesses.
Q: Can I grind meat in a sausage stuffer?
A: No—use a meat grinder for initial processing, then switch to a stuffer for filling.
6. Top 3 Sausage Stuffer Brands to Consider
LEM Products: Known for durable vertical stuffers (3–25 lb. capacities).
Weston: Offers electric models with adjustable speed (ideal for delis).
KitchenAid: Budget-friendly manual stuffer attachments for home cooks.
Conclusion: Elevate Your Sausage Game Today
A sausage stuffer transforms messy, inconsistent batches into professional-quality links. By matching your needs to the right type, prioritizing maintenance, and mastering stuffing techniques, you’ll create sausages that rival gourmet butchers.
Ready to Start Stuffing?
Explore our sausage stuffer collection, featuring models for home kitchens and commercial use. Need help choosing? Contact our experts for a free consultation.


